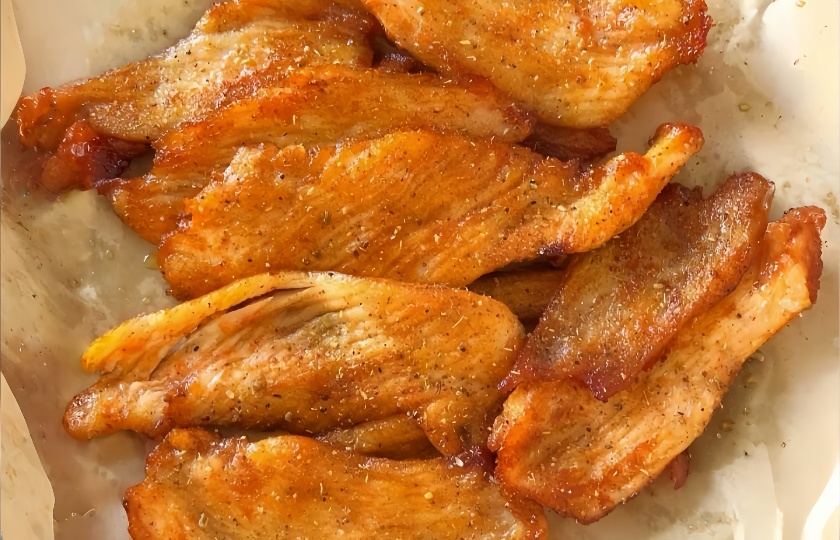
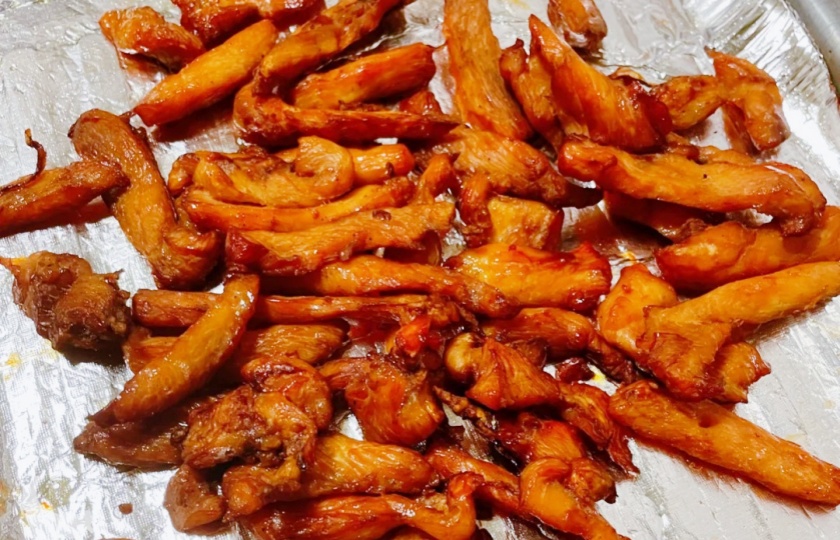
Delicious and Easy: How Long to Bake Chicken Tenders in the Oven?
 When it comes to cooking delicious meals, baked chicken tenders are a real hit! But did you know that many people aren't sure how long to bake them in the oven? The timing is crucial because it directly affects how tasty and perfectly cooked your chicken tenders will be. Let's dive into this topic today.
How long to oven bake chicken tenderloins?
The baking time for chicken tenders in the oven depends on their size and your oven's power.
If the chicken tenders are small, about 0.5 to 0.6 inches thick, you can bake them at 400°F for about 15 to 20 minutes. It's important to flip them halfway through to ensure even cooking and a nice, golden color on both sides.
For larger chicken tenders, around 0.8 to 1.2 inches thick, you'll need to bake them for 25 to 30 minutes. Start with 20 minutes, then check by poking with a fork or skewer. If the juices run clear, they're done. If there's any pink, pop them back in the oven for a few more minutes.
If your oven is on the lower power side and doesn’t heat up as well, you might need to extend the baking time by 5 to 10 minutes. Just keep an eye on them to avoid overcooking or burning.
Should You Use Foil When Baking Chicken Breasts?
Whether or not to use foil when baking chicken breasts depends on your specific cooking needs.
If you want to retain more moisture and achieve a tender, juicy texture, wrapping the chicken breasts in foil is a good choice. Foil acts as a barrier, slowing down the evaporation of moisture during baking. This results in chicken breasts that are juicy and tender, providing a delightful eating experience. Additionally, using foil helps the chicken cook evenly, reducing the chances of some parts being overcooked while others remain undercooked.
However, if you're aiming for a golden, crispy exterior on your chicken breasts, it's better to skip the foil. Foil prevents the chicken from fully interacting with the hot air, which is necessary for creating that crispy texture. In this case, you can start by baking one side of the chicken breasts directly on the baking sheet until it turns golden and crispy, then flip them to cook the other side. This method allows you to enjoy both a tender interior and a crispy exterior.

Should You Cover Chicken When Baking?
Whether to cover chicken when baking depends on the equipment you're using and the desired outcome.
If you're using an oven, covering the chicken can be beneficial in some cases. For instance, if you want the chicken to retain more moisture and stay juicy, you can use the oven's lid or cover the baking dish with foil. Covering the chicken helps trap moisture, preventing it from escaping into the oven, which keeps the chicken from drying out. However, covering the chicken might affect the crispiness of the skin because it limits airflow around the chicken, making it harder to achieve a golden, crispy exterior.
On the other hand, if you're using a grill, it's generally better not to cover the chicken. Grills provide heat from all directions and usually have good ventilation. Covering the chicken might interfere with heat distribution and airflow, leading to uneven cooking. Some parts might be undercooked while others are overcooked. However, if you have a high-end grill with a rotisserie and adjustable vents, and you want to keep the chicken moist while ensuring it cooks through, you can partially cover it and adjust the vents to control airflow and heat distribution effectively.
How to Avoid Overcooking Chicken Tenders
First, let's talk about timing. Chicken tenders are quite delicate and don't take long to cook. If you've sliced the chicken tenders into thin strips, boiling them for 3-5 minutes in hot water should be sufficient. For whole chicken tenders, 8-10 minutes should be enough, but the exact time depends on their size. Using a timer can help you keep track of the cooking time precisely.
Next, pay attention to the appearance of the chicken tenders. When they turn from pink to white and become opaque throughout, that's a good sign they're almost done. If they start to look stringy and are beginning to fall apart, they've likely been overcooked and should be removed from the heat immediately.
Another tip is to control the heat properly. Cooking chicken tenders over medium to low heat is ideal. High heat will cook the exterior quickly, but the inside might remain undercooked. To ensure the inside is cooked without overcooking the outside, use moderate heat, allowing the heat to penetrate the chicken tenders evenly.
Additionally, if you're cooking chicken tenders in a flavored liquid, such as a sauce or broth, these liquids can transfer heat more efficiently, meaning the tenders will cook faster. In such cases, you may need to reduce the cooking time accordingly.

What is the Best Temperature for Roasting Chicken?
Here are the best temperatures for different methods of roasting chicken:
Oven Roasting
For a conventional oven, the best temperature for roasting chicken is between 350°F and 400°F (180°C - 200°C). This range ensures that the chicken cooks evenly, with the inside becoming fully cooked while the skin turns golden and crispy. If the temperature is too low, the cooking time will be longer, and the skin might not become crispy, while too high a temperature can cause the skin to burn before the inside is cooked.
Rotisserie Roasting
For a rotisserie oven, the ideal temperature is around 320°F - 350°F (160°C - 180°C). Rotisserie ovens allow for even cooking as the chicken rotates, and this temperature range helps the chicken cook slowly and evenly, preventing it from burning too quickly. The result is juicy, tender meat with a well-browned, flavorful skin.
Grilling with Charcoal
Grilling chicken over charcoal requires a bit more temperature management. Aim to keep the chicken about 6-8 inches (15-20 cm) above the coals, maintaining a temperature of around 350°F - 400°F (180°C - 200°C) around the chicken. This setup provides the chicken with the distinctive flavor of charcoal grilling while avoiding burning. Since charcoal temperatures can fluctuate, keep an eye on the chicken and adjust its distance from the coals as needed to ensure even cooking.
How to Store Leftover Chicken Tenders
For short-term storage, if you plan to use the chicken tenders within a few hours, place them in a bowl, cover with plastic wrap, and keep them in a cool, shaded area. The plastic wrap helps protect against bacteria and dust, but make sure the environment isn’t too warm to prevent spoilage.
If you need to store them for about a day, place the chicken tenders in the refrigerator. Use a clean airtight bag or container, and try to remove as much air as possible before sealing. This slows down bacterial growth and helps maintain freshness.
For long-term storage, such as several days or more, freeze the chicken tenders. Seal them in airtight bags or containers, ideally in small portions. This minimizes exposure to air each time you take some out, reducing the risk of contamination. Frozen chicken tenders can last for several months, but the longer they are stored, the more they may lose in texture and nutritional value.
Regardless of whether you're refrigerating or freezing, ensure the chicken tenders are clean before storing. If they have come into contact with raw water or contaminants, bacteria can grow more easily, significantly reducing their shelf life.


