BBQ Tips: How Long to Cook Butterflied Chicken Legs on the Grill
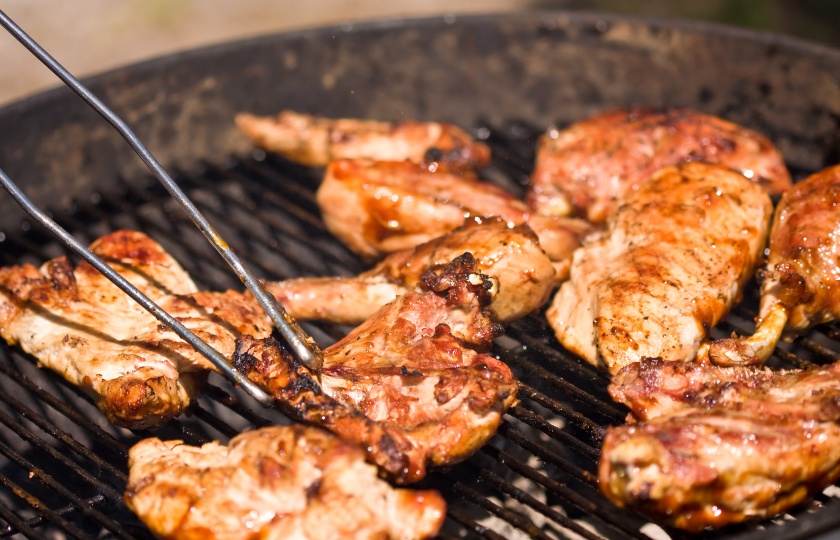
While butterflied chicken legs are popular for their unique cut, timing control is crucial for perfect results. Let's understand the best grilling methods.
How long do you grill butterflied chicken legs for?
I usually control the grilling time within 15 - 20 minutes, but in actual operation, it needs to be adjusted flexibly.
Firstly, flatten the chicken legs completely in advance and use the tip of a knife to make several incisions in the thick part of the meat. This way, the heat is more evenly distributed, avoiding the outer layer from being charred while the inside remains raw.
Then divide the grill into two areas: a medium - high - temperature area (direct fire) and a low - temperature area (indirect fire). Place the chicken legs with the skin side down on the high - temperature area and grill for 5 minutes until a charred layer appears. This step can lock in the meat juices.
Next, flip the chicken legs and move them to the low - temperature area. Cover the grill lid and roast for 8 - 10 minutes. At this time, I will use a thermometer to insert into the thickest part. When the temperature reaches 74°C, immediately remove it from the heat.
Finally, put it back on the high - temperature area and quickly sear for 30 seconds to make the epidermis more crispy. Remember to let it rest for 3 minutes after removing it from the heat before cutting. The moment when the meat juices flow back is the most perfect time.
There is a significant temperature difference among different grills. It is recommended that beginners start checking the doneness after 15 minutes. If you like a sweet and spicy flavor, you can brush on honey chili sauce when flipping the chicken legs for the last time. This can enhance the flavor without burning the seasonings.
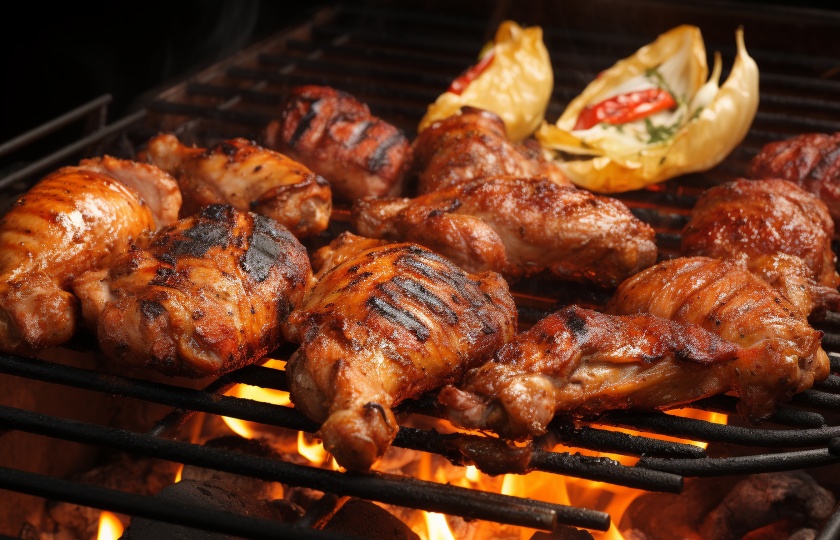
How do you properly butterfly chicken legs?
First of all, I recommend preparing a sharp knife and a clean cutting board, which are the foundation for making a nice cut. Before starting, use kitchen paper towels to pat dry the moisture on the surface of the chicken legs.
The cutting steps are as follows:
Place the chicken leg skin-side down. Along one side of the chicken leg bone, use a knife to make a cut from top to bottom. Be careful not to cut it completely through.
Then unfold the chicken leg like opening a book. Use the back of the knife or a chef's mallet to gently pound the thicker parts of the meat to make the meat thickness as even as possible. This can not only shorten the cooking time but also allow seasonings to penetrate better.
Be especially careful when dealing with the bone. It is recommended to use the tip of the knife to carefully cut around the bone to completely loosen the meat around the bone. If you want to completely debone it, you can use scissors to cut through the joint and remove the bone.
Should I marinate butterflied chicken legs before grilling?
The key to removing the chicken leg bone lies in accurately identifying the positions of the joints and tendons. Master the following techniques, and even beginners can easily flatten the chicken leg into a complete steak:
Step 1: Locate the cutting starting point
Place the back of the chicken leg facing up. Feel the protruding joint at the end of the leg bone. Use the tip of the knife to make a longitudinal cut along the bone, with the depth just touching the bone. Then, push and cut along both sides of the bone with the blade closely against the bone, separating the meat from the bone just like "peeling a banana", while paying attention to keeping the chicken skin intact.
Step 2: Cut the tendons and remove the bone
When you encounter the white tendons at the joint of the leg bone, cut the tendons horizontally. (The meat here is the firmest, so a little more force is required.) Hold the bone and pull it outwards, and at the same time use the tip of the knife to assist in scraping off the remaining fascia. Then the entire bone can be removed intact.
Step 3: Flatten and shape
After deboning, spread the chicken leg meat into a fan shape. For areas with uneven thickness, gently tap with the back of the knife to adjust. Pay special attention to the thicker muscle group at the root of the thigh. Make 2 - 3 shallow cuts diagonally (without cutting through completely), so that it is less likely to curl during grilling.
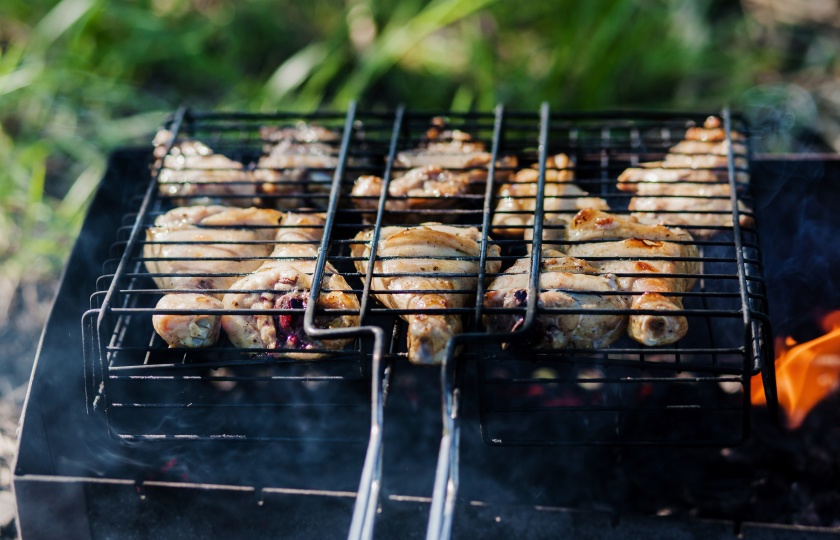
How do you know when butterflied chicken legs are done?
Use a thermometer to insert into the thickest part of the meat. When the internal temperature reaches 75°C/165°F, it is safe to eat.
If you don't have a thermometer, don't worry. Pierce the thickest part of the chicken with a fork. If the juice that comes out is completely clear, turn off the heat immediately. If the juice is pinkish or cloudy, continue grilling for another 2 minutes and then check again.
In the later stage of grilling, pay attention to two signs:
First, the chicken skin turns an even golden brown color and the edges curl slightly.
Second, the dripping of fat decreases and the "sizzling" sound on the grill becomes less frequent.
After turning off the heat, don't cut the chicken right away. Let it rest for 5 minutes to allow the residual heat to penetrate. During this time, the internal temperature will still rise by 3 - 5°C, and the juice can be locked in again.
Do you need to flip butterflied chicken legs while grilling?
You must flip the butterflied chicken legs on the grill! Due to the characteristics of direct fire grilling, heating on one side is uneven. Only by operating in stages can you achieve a crispy exterior and tender interior:
Step - by - step disassembly
Chicken skin side down: Start with high heat (200 - 220°C). Use intense heat to lock in the meat juices. Leave it untouched for 6 minutes, allowing the natural dripping of fat to moisten the grill net and prevent sticking.
Single flip to set the shape: Use broad - headed grill tongs to lift the chicken from the non - skin side and flip it quickly. At this point, the chicken skin should be amber - colored and not sticking to the net.
Finish with slightly charred meat side: After flipping, adjust to medium heat and grill for 5 - 7 minutes until the edges of the meat curl slightly.
Advanced techniques
Place the grill diagonally to create two temperature zones: When the chicken skin side is down, place it in the high - temperature zone. After flipping, move it to the low - temperature zone. This way, you can ensure a crispy skin while preventing the meat side from getting overdone.
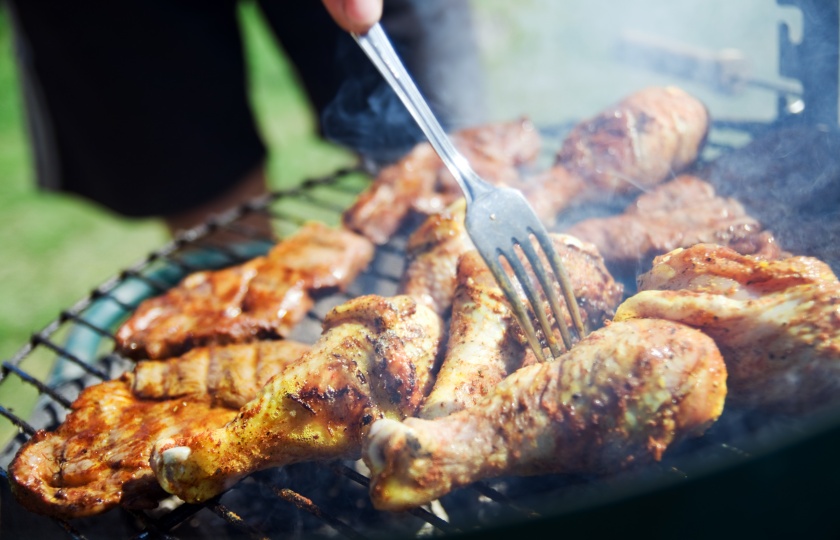
Is it better to cook butterflied chicken legs with skin on or off?
My advice is: If you prefer taste, choose to cook with the skin on. If you focus on health, choose to cook without the skin.
Core techniques for grilling with the skin on
Place the chicken with the skin side down to contact the heat source first. Grill at a high temperature of 200°C/395°F for 5 minutes to form a crispy crust. Brush the grill with oil in advance to prevent sticking. Gently press the chicken with tongs during the process to ensure the skin surface evenly contacts the grill. After the fat seeps out, promptly use kitchen paper to absorb the oil dripping onto the baking pan to avoid fire and smoking, which may affect the flavor.
Secret to keep the meat tender when grilling without the skin
Soak the chicken in brine (5% concentration) in advance for 30 minutes. Take it out and pat it dry before grilling. Cover the chicken with foil throughout the grilling process, lower the temperature to 180°C/355°F, and extend the cooking time to 18 minutes. Uncover the foil in the last 5 minutes and brush a layer of a mixture of yogurt and olive oil (1:1). This can form a charred layer similar to the crispy skin.
Can you grill frozen butterflied chicken legs?
It is highly recommended to thaw the chicken legs first. If you're really short on time, follow these steps:
Pre - treatment: Rinse the surface ice chips with cold water and pat dry the moisture with kitchen paper.
Low - temperature start: Preheat the grill to 150°C (300°F). Grill the chicken legs with the skin side up for 15 minutes first. This allows the internal temperature to rise slowly.
High - temperature finish: Adjust the temperature to 200°C (390°F), flip the chicken legs over, and grill for 8 - 10 minutes. Brush with oil in the last 1 minute to promote the formation of a crispy skin.
More recommended approach
If time permits, place the frozen chicken legs in the refrigerator the night before to thaw slowly. The grilling time can be shortened to the regular 15 minutes, and the meat will have 37% more juice.
Remedy for the shortcoming of frozen chicken legs
Brush a layer of a mixture of olive oil and lemon juice (2:1) before grilling. This can soften the surface fibers. Spray a small amount of apple cider vinegar mist during the process to prevent the edges from getting too dry.


