Essential Tips for : How to Chill Meat Effectively After Cooking?

In everyday cooking, thin chicken breasts are popular due to their quick cooking time and rich nutritional content. However, many cooks often find the cooking time confusing. So, how long should thin chicken breasts be cooked to maintain their tenderness? Let’s explore this question together and uncover the ideal cooking time for thin chicken breasts.
The answer
Thin chicken breasts are typically about 1/2 inch (approximately 1.3 cm) thick, rich in protein, and low in fat, making them suitable for various cooking methods such as sautéing, baking, steaming, or boiling. Mastering the correct cooking time is essential for keeping the chicken tender and juicy.
Cooking Times:
Boiling: Place thin chicken breasts in boiling water and cook for about 5-7 minutes. Keep the water at a gentle simmer to avoid cooking the outside while leaving the inside undercooked. Ensure the internal temperature reaches 165°F (approximately 74°C).
Sautéing: Heat a small amount of oil in a skillet, add the thin chicken breasts, and sauté for 3-4 minutes. Flip and cook for another 3-4 minutes until golden brown and fully cooked through.
Baking: Preheat the oven to 375°F (approximately 190°C). Place the thin chicken breasts on a baking sheet and bake for about 15-20 minutes, until the internal temperature reaches 165°F.
Steaming: Place the thin chicken breasts in a steamer and steam for 8-10 minutes until fully cooked.
Tips:
Marinating: Before cooking, marinate the chicken breasts with olive oil, salt, pepper, and spices to enhance flavor.
Resting Time: After cooking, let the chicken breasts rest for a few minutes before slicing to help retain their juices.
How long does it take to cook thin chicken breast at 350 degrees?
When cooking thin chicken breasts at 350°F (approximately 177°C), the typical cooking time is around 10-15 minutes. The exact time will depend on the thickness of the chicken and your preferred level of doneness.
Cooking Steps:
Prepare the Ingredients: Rinse the chicken breasts and remove any excess fat or tendons.
Process the Chicken: Depending on your preference, you can either slice the chicken breasts or leave them whole.
Baking: Place the chicken breasts in a preheated oven at 350°F (approximately 177°C) and cook for the specified time.
Check Doneness: Once the cooking time is up, gently poke the chicken with a fork or chopstick. If it easily pierces through and the meat has changed from translucent to opaque, it is cooked through.
Tips:
Avoid Overcooking: Thin chicken breasts can easily become overcooked and dry. It’s advisable to use a timer and start checking for doneness as you approach the cooking time.
Flavoring: After cooking, feel free to season the chicken to taste with salt, pepper, soy sauce, or other seasonings to enhance the flavor.
How Long to Bake Thin Chicken Breasts at 400°F?
When baking thin chicken breasts at 400°F (approximately 200°C), the cooking time is typically around 15-20 minutes. To ensure the chicken is fully cooked, the internal temperature should reach 165°F (approximately 74°C). Using a meat thermometer can help you accurately check for doneness.
Cooking Tips:
Preheat the Oven: Make sure to preheat the oven to 400°F to ensure even cooking of the chicken.
Marinate and Season: Before baking, you can marinate the chicken breasts in olive oil, salt, pepper, and other spices to enhance the flavor.
Resting Time: After baking, let the chicken rest for a few minutes before slicing. This allows the juices to redistribute, keeping the meat tender and moist.
How Long to Cook Chicken Breasts in a Skillet?
When cooking thin chicken breasts in a skillet, each side typically needs about 5-6 minutes. The exact time will depend on the thickness of the chicken and the heat level. Here are the detailed steps and tips:

Cooking Steps:
Preheat the Skillet: Heat the skillet over medium-high heat and add a suitable amount of oil (like olive oil or butter).
Add the Chicken: Place the chicken breasts in the skillet, ensuring they don’t overlap for even cooking.
Cooking Time: Cook each side for 5-6 minutes, until the exterior is golden brown and the internal temperature reaches 165°F (approximately 74°C).
Resting Time: After cooking, let the chicken rest for a few minutes before slicing to keep it juicy and tender.
Tips:
Marinate: Marinating the chicken in advance can enhance flavor and tenderness. Use olive oil, salt, pepper, and your favorite spices.
Cover the Pan: Covering the skillet during cooking can help retain moisture and speed up the cooking process.
How Long to Cook Thin Chicken Breasts in an Air Fryer?
When cooking thin chicken breasts in an air fryer, it typically takes about 12-15 minutes. The exact time will depend on the thickness of the chicken and the model of the air fryer. Here are the detailed steps and tips:
Cooking Steps:
Preheat the Air Fryer: Preheat the air fryer to 400°F (approximately 200°C).
Prepare the Chicken: Marinate the chicken breasts with olive oil, salt, pepper, and other seasonings to enhance the flavor.
Place in Air Fryer: Arrange the chicken breasts in the air fryer basket, making sure they don’t overlap for even air circulation.
Cooking Time: Set the timer for 12-15 minutes, and flip the chicken halfway through to ensure even cooking.
Check Doneness: Make sure the internal temperature of the chicken reaches 165°F (approximately 74°C).
Tips:
Resting Time: After cooking, let the chicken rest for 5 minutes before slicing to retain its juiciness.
Use a Thermometer: A meat thermometer can help accurately determine if the chicken is fully cooked.
How do you know when thin chicken breast is done?
To determine if thin chicken breasts are fully cooked, you can use the following methods:
Temperature Measurement:
Use a Meat Thermometer: The most reliable method is to use an instant-read meat thermometer. Insert the thermometer into the thickest part of the chicken breast, ensuring the temperature reaches 165°F (approximately 74°C), which is the minimum safe temperature for poultry.
Observe Color Changes:
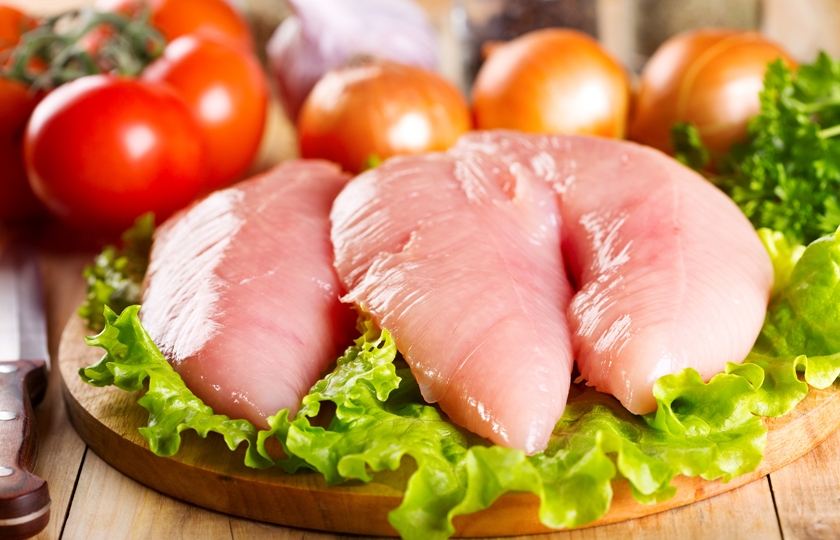
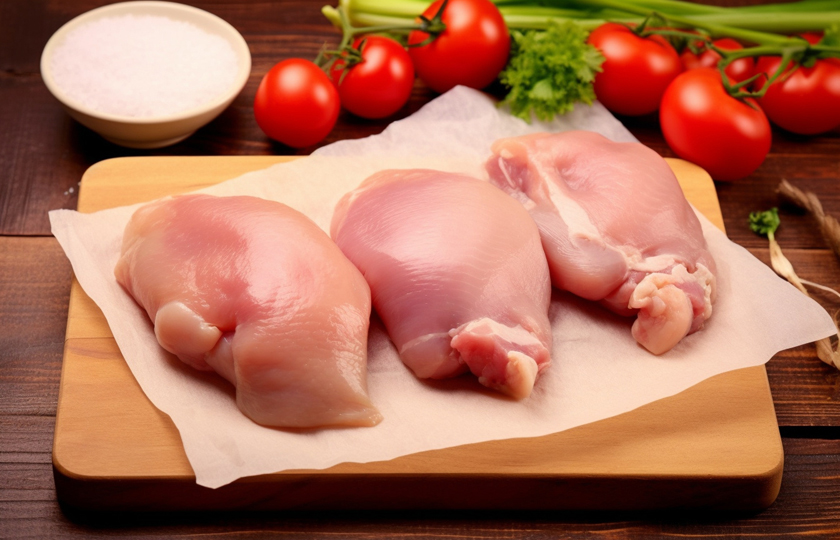
Raw Chicken Color: Raw chicken breasts are usually red or pink.
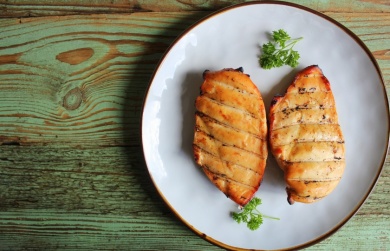
Cooked Chicken Color: Once fully cooked, the chicken should be white or no longer show any pink.
Check Buoyancy:
Raw Chicken Buoyancy: Raw chicken breasts are denser and typically do not float in water.
Cooked Chicken Buoyancy: Cooked chicken may slightly float due to the increase in moisture content.
Elasticity Test:
Raw Chicken Elasticity: Raw chicken is soft and lacks elasticity.
Cooked Chicken Elasticity: Cooked chicken becomes firmer. If you gently poke it with a fork or chopstick and it easily gives way, it’s likely cooked.
Taste Test:
Raw Chicken Texture: Raw chicken is soft and difficult to chew.
Cooked Chicken Texture: Fully cooked chicken should have a chewy texture, and the meat should change from transparent to opaque.
Using a Toothpick or Chopstick:
Toothpick Test: Insert a toothpick into the chicken; if it slides through easily, the chicken is cooked.
Chopstick Test: Gently poke the chicken with a chopstick; if it goes in easily, it’s another sign that the chicken is fully cooked.


