Flavorful Tips How To Prepare Turkey Necks

What's the best way to prepare turkey necks?
The production of turkey necks is divided into three stages:
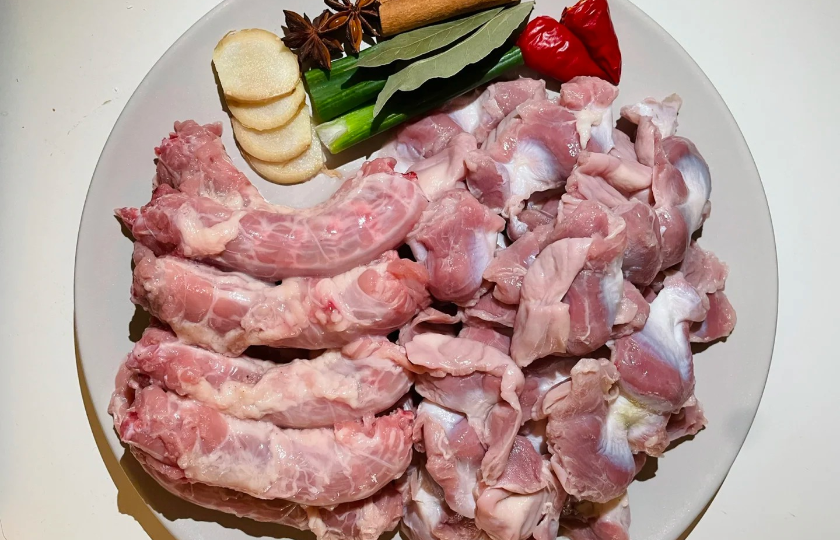
Preliminary processing stage: First, carefully clean the turkey neck, and then cut it into small sections about 3 centimeters long. Mix 100 milliliters of white vinegar with 500 milliliters of clear water to prepare a soaking liquid. Put the cut neck sections into it and soak for 30 minutes. After that, take them out, rinse with clear water, and drain the water.
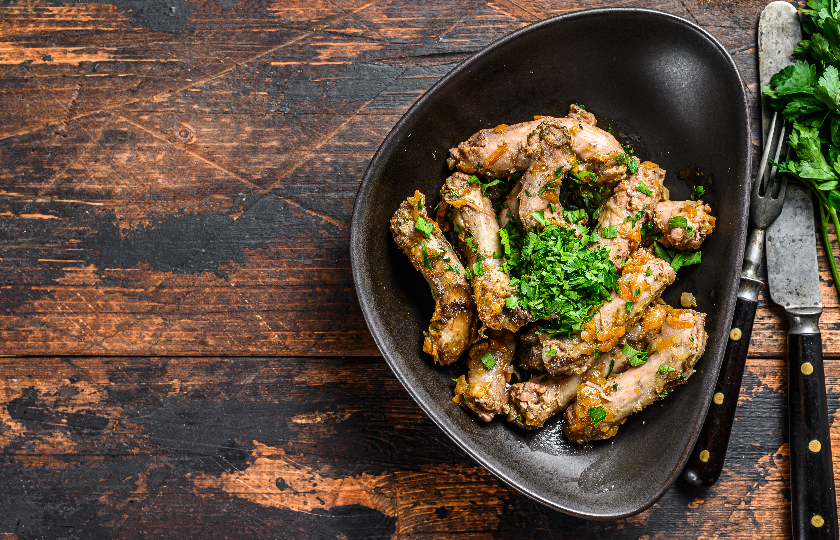
Initial cooking stage: Pour 2 tablespoons of oil into the pot. When heated to 70% heat, put in 2 slices of ginger, 2 scallions, and 1 star anise and stir-fry until fragrant. Then put the drained neck sections into the pot and fry over medium heat until the surface is golden. Then add 200 milliliters of boiling water. The amount of water should cover the ingredients.
Seasoning and thickening step: Add 1 tablespoon of light soy sauce and 1 teaspoon of dark soy sauce to color. Put in half a teaspoon of salt and an appropriate amount of white pepper. After bringing it to a boil over high heat, turn to low heat and simmer for 40 minutes. During the simmering process, turn it over 2 to 3 times to make the taste evenly penetrate. When the soup becomes slightly thick, taste it, adjust the seasoning according to the actual situation, and then it can be taken out of the pot and served on a plate.
How do you clean turkey necks before cooking?
Cleaning turkey necks requires four steps: First, soak in warm water for 15 minutes to remove surface blood stains; then scrub with salt water 2 to 3 times to remove residues; then rinse repeatedly with clean water 3 to 4 times to ensure cleanliness; finally, dry the surface moisture with kitchen paper towels.
Careful cleaning is the key to ensuring food safety. There are often blood stains and impurities on the surface and inside of turkey necks. Failure to clean them thoroughly will affect the taste and even cause food safety problems. Soaking in warm water can soften blood stains. Salt water has a cleaning and disinfecting effect, and repeated rinsing can completely remove residues.
Drying the moisture is an important link in subsequent processing. Surface moisture will affect the adhesion and absorption of seasonings and also affect the coloring effect during frying. Using kitchen paper towels to absorb moisture is both hygienic and efficient and prepares for subsequent cooking.

Why soak your turkey neck in vinegar?
Soaking turkey necks in vinegar is mainly to remove the fishy smell and soften the meat. When handling turkey necks in the home kitchen, soaking them in a mixture of 100 milliliters of white vinegar and 500 milliliters of clear water for 30 minutes can effectively remove the fishy smell and soften the meat.
In my daily cooking, I found that the acidic components of vinegar can decompose the fishy substances in the meat. Every time I buy turkey necks, they have an obvious fishy smell. After soaking in vinegar, this smell will disappear. At the same time, the acidity of vinegar can soften the meat fiber of turkey necks, making it easier to absorb seasonings during subsequent cooking.
In specific operations, after soaking, it is necessary to rinse repeatedly with clean water 3 to 4 times to ensure that there is no residual vinegar smell. The turkey necks treated in this way will be more delicious and palatable whether braised or stewed. This method has become a fixed step for handling turkey necks in my family.
What's the best way to cut turkey necks?
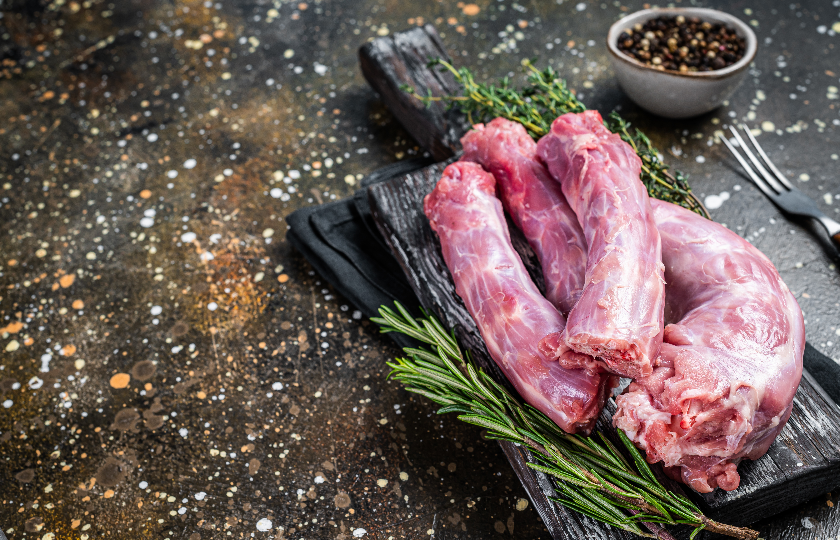
The best way to cut turkey necks is to cut them into 3-centimeter-long sections. First, use a sharp kitchen knife and cut at the neck joint. Cut along the joint gap. This can avoid damage to the knife and also keep the meat of each section intact.
During the processing, the neck needs to be placed flat on the cutting board and find the position of each joint. Because the joint is relatively soft and easy to cut. When cutting, the force should be moderate and quick and crisp. This can ensure that the cut is flat and the meat will not be crushed.
A length of 3 centimeters for each section is most suitable for absorbing flavors and eating. If it is too long, it is not easy to absorb flavors. If it is too short, the taste will be lost. The cut sections should be marinated or cooked immediately to maintain freshness. Prepare a plate and place the cut sections neatly for subsequent processing.

How long does it take to boil a turkey neck?
Boiling turkey necks takes 40 to 45 minutes. At the beginning, bring the water to a boil over high heat and then turn to low heat and simmer slowly. This can ensure that the turkey necks are fully cooked and tender.
When cooking at home, heat control is crucial. Boil over medium heat for the first 15 minutes to allow the seasonings to penetrate. Then turn to low heat and simmer for 25 to 30 minutes. During this period, turn it over 2 to 3 times to ensure even heating. When chopsticks can be easily inserted into the meat, it means the heat is just right.
The amount of water in the pot should cover the ingredients. It is best when the soup is reduced to a slightly thick consistency. If the boiling time is too short, the meat will be hard and not flavorful. If the time is too long, the meat will become loose and lose its toughness.
How long can uncooked turkey necks stay in the fridge?
Store in the refrigerator for 2 days and in the freezer for 3-4 months. This is the best shelf life for raw turkey necks.
Every time I buy it, I wipe the surface with kitchen paper and put it in a fresh-keeping box when I put it in the refrigerator. I put kitchen paper on the bottom to prevent odor. Before freezing, I divide it into small packages and seal it with a fresh-keeping bag. Remember to squeeze out the air and write the date.
Before storage, I will remove the cartilage and fat on the surface. This not only saves space but also reduces odor. I didn’t understand these things before, and it went bad after being stored for too long. Now I have never had any problems storing it this way.


