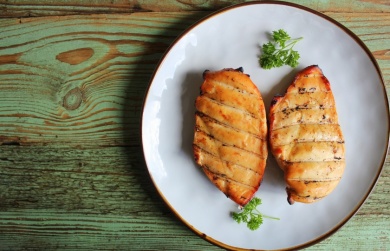
Thin Sliced Chicken Breast Air Fryer Time: Time & Temp Guide


While thin chicken breast is an excellent healthy choice, controlling cooking time isn't easy. Today, we'll show you how to find the perfect air fryer cooking time.
How long do you cook thin sliced chicken breast in an air fryer?
It takes about 8 - 10 minutes. Setting the temperature to around 180 degrees Celsius is quite suitable. The specific time can be slightly adjusted according to the thickness of the chicken breast.
For example, for slices that are half a centimeter thick, I would preheat the air fryer for 3 minutes first, then place the slices flat in it and bake for 5 minutes. After flipping them over, bake for another 3 - 4 minutes.
Remember to pull out the frying basket during the process to check. If the edges are starting to turn slightly golden brown, it means the cooking is almost done.
Here's a little tip:
Toss the chicken with a little olive oil and seasonings in advance. This way, the chicken won't dry out easily during baking.
If you prefer a more tender texture, when it has been baking for 6 minutes, gently press the surface of the chicken with your finger. Once it feels elastic, you can turn off the heat. The residual heat will continue to cook the chicken.
Be careful not to overcook. Since thin slices lose water quickly, if cooked for more than 10 minutes, they will easily become tough.
How should I marinate chicken breasts before air frying?
Chicken breasts do need to be marinated. The basic marinade I usually use consists of: two tablespoons of soy sauce, one tablespoon of cooking wine, half a tablespoon of honey, plus a small pinch of salt and black pepper. Finally, add a few drops of oil and mix well. 20 minutes of marinating is sufficient to let the flavors penetrate. Marinating for too long will make the meat soft.
If you want to try different flavors, here are some different combinations:
Garlic - Lemon flavor: Minced garlic + lemon juice + olive oil + rosemary
Korean Sweet - Spicy flavor: Korean spicy sauce + honey + sesame oil + minced ginger
Yogurt - Curry flavor: Unsweetened yogurt + curry powder + garlic powder + lemon zest
Note that the liquid seasonings should not exceed 10% of the weight of the chicken. If the chicken is too wet, it will affect the crispy effect in the air fryer. It's best to use kitchen paper to blot the excess sauce on the surface of the marinated chicken before putting it into the air fryer. If you think the color is not enough when flipping the chicken during the process, you can brush another layer of the marinade.
Should I preheat the air fryer for chicken breasts?
It is recommended to preheat, especially if you want to make chicken breasts that are crispy on the outside and tender on the inside. First, set the air fryer to 180 degrees and let it run empty for 3 minutes, then put the chicken in. Preheating can quickly form a crispy crust on the surface and lock in the internal meat juices.
If you are short on time, you don't have to preheat. However, you need to increase the total baking time by 2 - 3 minutes and turn the chicken over a couple more times during the process.
There are two exceptions, though:
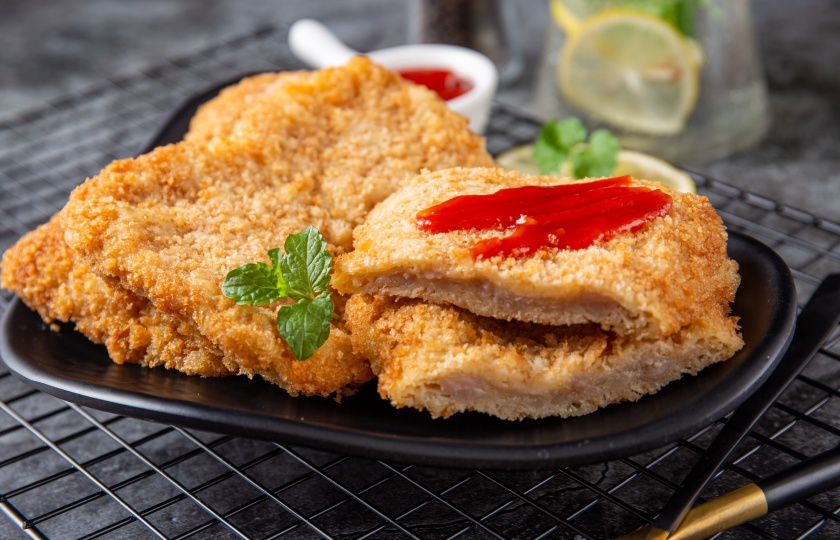
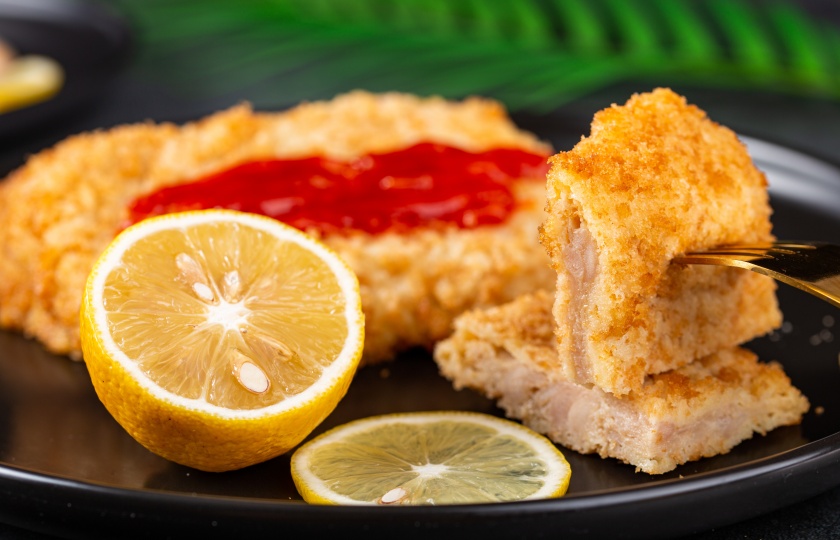
Chicken breasts coated with breadcrumbs or crispy batter: You must preheat. Otherwise, the crispy coating is likely to fall off.
Frozen chicken breasts: There is no need to preheat. Just bake at 200 degrees for 3 minutes first to thaw, and then adjust the temperature.
When putting the ingredients into the preheated air fryer, the temperature will drop. You can pull out the frying basket within the first 2 minutes to observe the state. If you find that the surface of the chicken is already colored but the middle is still undercooked, remember to lower the temperature by 5 - 10 degrees in advance next time. If you use a tin foil bowl to hold the chicken, the preheating time can be shortened to 1 minute.
How do I know when thin-sliced chicken breasts are fully cooked?
There is a quick verification method: At the 7th minute of baking, tear open the thickest slice to check. If there are no pink strands of meat in the middle, you can turn off the heat. If you're worried that it's not cooked thoroughly, don't rush to take it out after turning off the heat. Let it sit for 1 minute with the residual heat for extra safety. Don't wait until the thin slices turn completely golden brown before taking them out of the pan, or the texture of the meat will be tough.
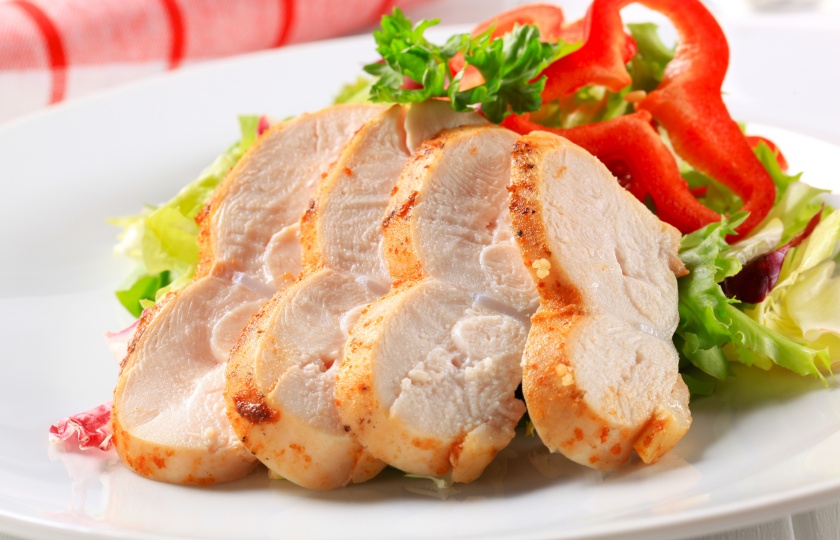
You can also judge by the color change: The semi-transparent pink color of raw meat completely disappears. The cross-section turns into a uniform white color, with a light golden edge being the best. If the meat juice oozing out on the surface is clear and colorless, it means the cooking is just right.
How many chicken breast slices can I cook at once in an air fryer?
I use a 3.5-liter air fryer. For chicken breast slices that are half a centimeter thick, you can put 4 - 6 slices (each slice is about the size of a palm). If you stack them in two layers, when it's time to turn them over halfway through, swap the positions of the upper and lower layers, and increase the total cooking time by 3 minutes.
Here is a simple test method:
When the raw meat slices are spread out flat, make sure you can still see 1/3 of the grid on the bottom of the fryer basket.
Leave a gap about half the width of a chopstick between the edges of the meat slices.
The top layer should be at least two fingers' width away from the heating element.
Filling more than 2/3 of the fryer basket's capacity will hinder the hot air circulation and easily result in uneven heating. If it's a bone-in chicken breast or particularly thick slices, the quantity should be halved. When making a large batch, you can bake them in two batches. But for the second batch, wait until the air fryer has completely cooled down before starting to avoid overheating protection and shutdown.
How long should I let air fried chicken breasts rest before slicing?
It's most suitable to let the air-fried chicken breasts rest for 3 - 5 minutes before slicing. This period allows the internal meat juices to redistribute so that they won't flow out immediately when sliced.
Observing whether the meat juice seeps out to the surface is a practical way to judge - if there is clear juice accumulating on the plate, it means you can start slicing. If you can't resist poking it during the resting time, gently press the thickest part with your fingertips. The best state is when it can bounce back and is not too hot to touch.
There is a detail that's easy to overlook: When slicing, the blade should be at a 45-degree angle and cut along the muscle fibers. If you're short on time, at least ensure a 1-minute rest, and at the same time, loosely cover it with aluminum foil to keep it warm. This is a good time to prepare the sauce or arrange the plate, which can improve efficiency.