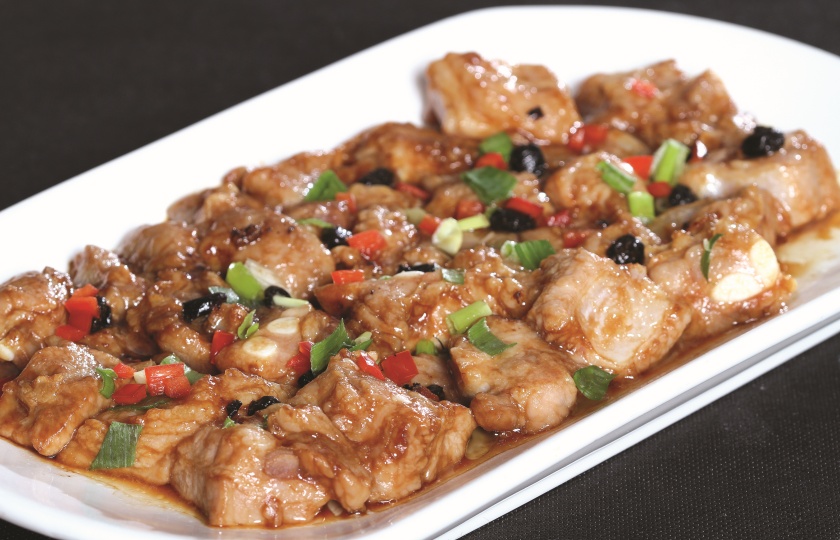
What Temperature Should Ribs Be Cooked to Safely


Temperature control is crucial when cooking ribs. Reaching the ideal internal temperature ensures both safety and tenderness of the meat.
What is the ideal temperature for cooking ribs?
Ribs should be cooked to around 85°C-95°C (185°F-203°F) for the perfect texture. At this temperature, the meat becomes incredibly tender and easily falls off the bone. This range allows the connective tissues in the ribs to break down, creating that melt-in-your-mouth sensation.
If you're using an oven or smoking, 90°C (195°F) is ideal, ensuring the meat is fully cooked without drying out. For braising, reaching 85°C and above with some broth will make the ribs tender and flavorful. A small tip is to use a thermometer inserted into the thickest part of the ribs for precise measurement—don’t rely on your eyes.
Of course, if you prefer a bit of chewiness, you can go for a slightly lower temperature, but don’t go below 75°C (167°F), or the meat may turn tough or undercooked.
Where Should the Thermometer Be Inserted in Ribs?
Insert the thermometer probe between the two center ribs of the rack, as this is typically the thickest and slowest-heating part of the meat, giving you an accurate reading of the internal temperature. Just make sure to avoid the bone to ensure you're measuring the temperature of the meat itself.
Another advantage of this placement is that you don’t need to keep flipping the ribs to check the temperature, making it especially handy when slow-cooking large racks of ribs on a grill. Ultimately, as long as you insert the probe into the thickest part of the meat without touching the bone, the temperature reading will be accurate. This method is perfect for outdoor grills—it’s convenient and reliable, definitely worth trying!
How to Check if Ribs Are Done?
In addition to using a thermometer, there are a few simple ways to check if your ribs are cooked:
Bone Test: Try pulling one of the bones. If it easily comes off with a gentle tug, the ribs are perfectly tender.
Bend Test: Use tongs to lift one end of the ribs and see if the middle cracks. If it naturally splits, congratulations, they're done!
Toothpick Test: Take a toothpick and poke the thickest part of the ribs. If it slides in easily with no resistance, it's a sign that the ribs are fully cooked.
Visual Check: The ribs should have a tempting golden-brown surface, with the bones slightly exposed. This is another classic sign of being cooked through.
These methods are simple and intuitive, especially when you don’t have a thermometer on hand. The key is that when the ribs are perfectly cooked, the meat will pull away effortlessly, making for an incredibly satisfying meal!
When Cooking Ribs, Should the Meat Side Be Up or Down?
In general, when cooking ribs, you should start with the meat side down, especially when using an oven or grill. There are several benefits to this method:
Locks in Juices
Placing the meat side down allows it to make direct contact with the heat source, quickly locking in the juices and preventing the meat from drying out. The fat layer slowly melts during cooking, keeping the ribs moist.
Creates a Crispier Crust
When the meat side is down, it directly touches the grill or pan, allowing the surface to develop a crispy, flavorful crust, enhancing both flavor and texture.
More Even Heat Distribution
Cooking with the meat side down helps the heat distribute more evenly, especially when the ribs are thick. This ensures the meat cooks thoroughly.
Once the meat is cooked, flip the ribs so the meat side is up. The melting fat will flow into the meat, enhancing the flavor. For braising or slow cooking in foil, you can adjust as needed, but in most cases, starting with the meat side down is a good habit. This method ensures the ribs come out perfectly tender and flavorful!
What is the 3-2-1 rule for ribs?
The 3-2-1 rule is the secret weapon for smoking ribs, broken down into three simple steps to create tender ribs:
3 hours: Directly cook
Start by seasoning the ribs and place them meat side up on the grill. Cook at a low temperature (around 110°C/225°F) for 3 hours. This step helps form a flavorful, crispy crust on the surface.
2 hours: Wrap in foil
Next, wrap the ribs in foil, adding a little liquid (like apple juice or beer) inside. This keeps the ribs moist and tender. Continue to cook at low heat for 2 hours, allowing the meat to absorb more flavor.
1 hour: Unwrap and apply sauce
Finally, remove the foil, brush barbecue sauce on the ribs, and cook for another 1 hour. This step helps thicken the sauce and makes the ribs sweet and flavorful on the outside.
This whole process results in ribs that are crispy on the outside and tender on the inside. If you prefer a softer texture, you can adjust the time to suit your taste!
How long should ribs rest?
It’s generally recommended to let ribs rest for 10-15 minutes. Why? Because freshly cooked ribs are very hot, and cutting them right away causes the juices to run out, which can make the meat dry and tough.
Resting allows the juices inside the ribs to redistribute, keeping the meat moist. Additionally, the ribs are easier to cut when slightly cooled, and the cuts won’t be messy. Once rested, the meat holds onto its juices longer, making each bite more tender and flavorful.